Spice up your inbox with FREE German recipes and an exclusive free recipe ebook!
Recipe Cards now available in the Just Like Oma Shop!
Spice up your inbox with FREE German recipes and an exclusive free recipe ebook!
- Home
- Side Dishes
- Artisan Bread
Oma's Easy No-Knead Artisan Bread (Krustenbrot)

by: Gerhild Fulson / Oma Gerhild shares German recipes rooted in family tradition.
Updated on December 1, 2025
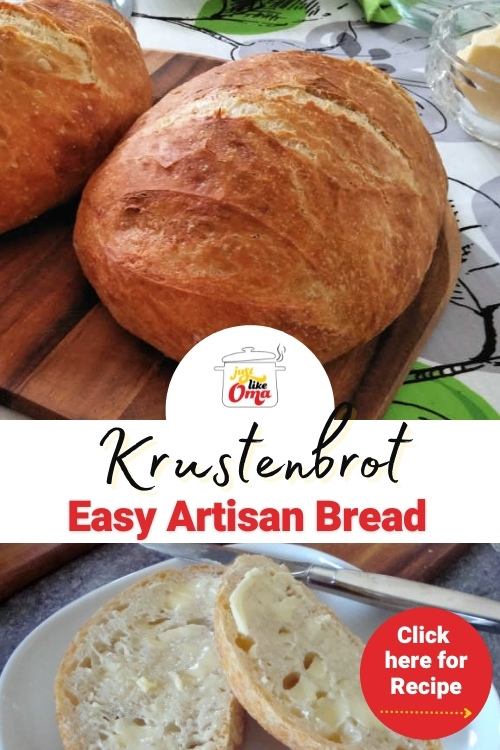
This easy no-knead artisan bread (krustenbrot) is my go-to recipe when I want fresh, crusty bread without the fuss. Just mix, rest, and bake.
Buy this recipe card for $1 Add to cart >
This recipe's PDF comes with printable 4x6 recipe cards, printable 8.5x11 recipe, hints & tips, and blank 4x6 & 8.5x11 recipe cards as a bonus!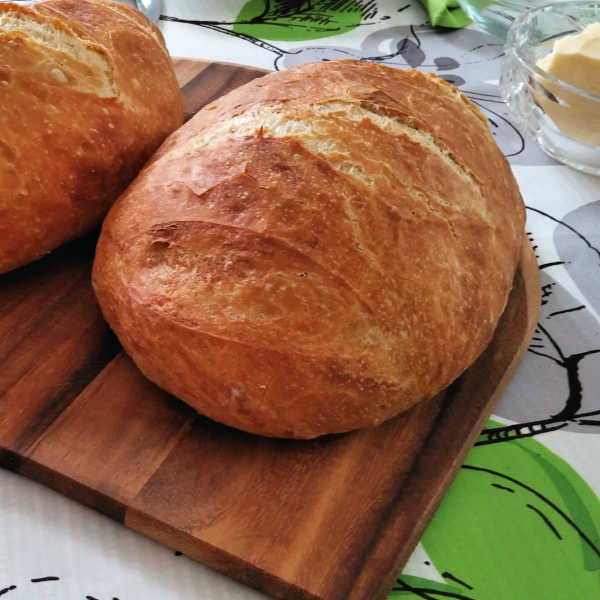 Still warm and waiting to be sliced.
- Anna from Long Island, New York
This no-knead artisan bread is so easy, anyone can make it. The crust is crispy like real krustenbrot, and the chewy, airy crumb is perfect for butter and jam. Just like the brötchen we’d get back in Germany. Wunderbar!
Oma’s Recipe Rundown
- Ease of Making: Super simple, no kneading required
- Taste: Crusty outside, soft and chewy inside
- Time: Prep: 5 minutes; Rest: 12–18 hours; Bake: 45 minutes
- Best Served With: Butter, jam, or alongside soups and stews
- Naturally Vegan: Yes
Top Tips for Best Results
- Use a Dutch Oven: It helps create that perfect crust by trapping steam.
- Let It Rest: Allowing the dough to rest for 12–18 hours develops flavor and texture.
- Flour Your Hands: The dough is sticky; floured hands make handling easier.
- Customize: Add herbs, seeds, or cheese to the dough for variety.
What Is Artisan Bread?
Artisan bread is that rustic, crusty loaf made with just four ingredients: flour, water, yeast, and salt. It’s funny to call it “artisan,” since it’s so simple—but it really does look and taste like something from a master baker!
The original no-knead version came from Jim Lahey from Sullivan Street Bakery and made waves when it hit the New York Times in 2006. Since then, it’s been everywhere. But mine? It’s just a bit easier. Give it a try. You won’t be disappointed.
How To Make No-Knead Artisan Bread
(Find the printable recipe with measurements in the recipe card below.)
Start by mixing 3 cups of flour, 1½ tsp active dry yeast, 1½ cups warm water, and 1 tsp salt together in a large mixing bowl. You will end up with a shaggy dough - it will be sticky and look a mess!
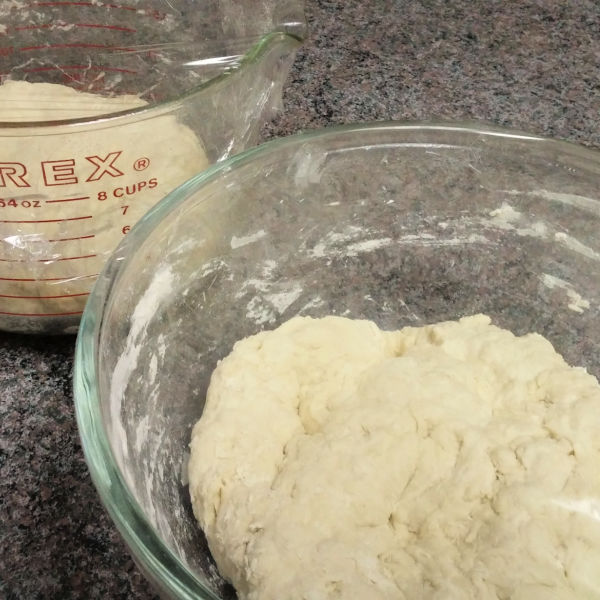 The artisan dough batter mixed up and ready to rise
Here, I'm making one batch with all-purpose flour and the other with bread flour to check out the differences in the finished loaf.
(BTW, the final result was that both were yummy, but we preferred the all-purpose flour. The texture is just a bit more chewy, and I find it tastes more like sourdough.)
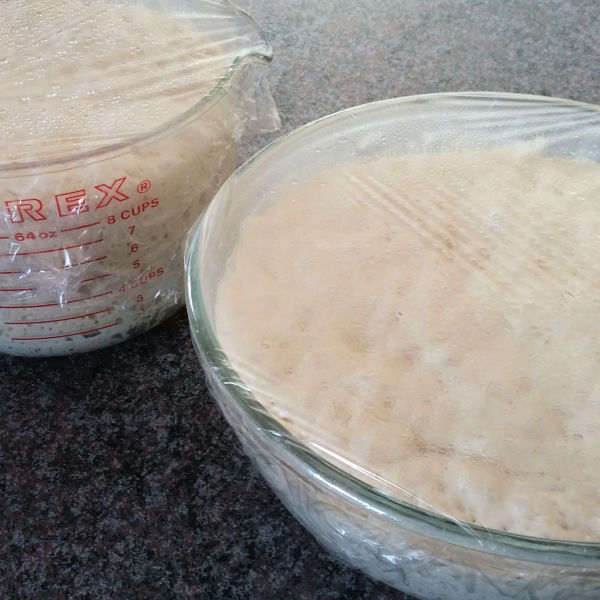 Cover the dough and let it rise at room temperature until it looks like this
Then cover the bowl tightly with a piece of plastic wrap and let the bowl sit out on the kitchen counter for 12 to 18 hours for the bread dough to rise. The top of the dough will be bubbly and sticky.
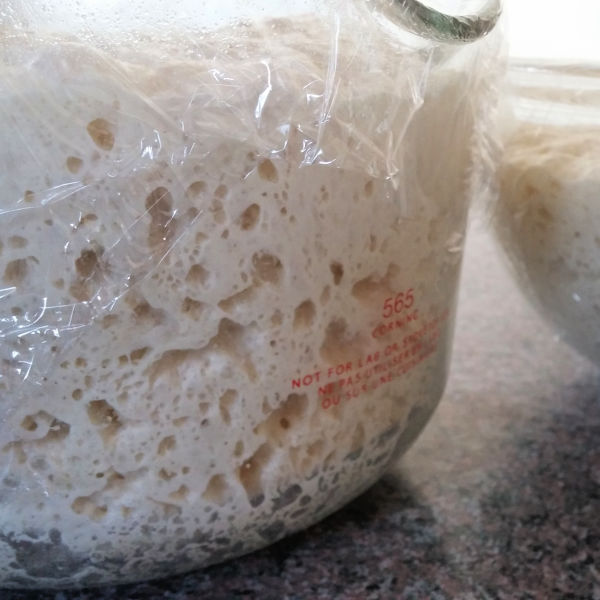 Just look at all the air bubbles in the dough!
Once the dough is ready, cut a piece of parchment paper to line the inside of a Dutch oven (or 6- to 8-quart heavy covered pot). Place the parchment paper on the counter and dust lightly with flour.
Sprinkle additional flour over your work surface and gently place the sticky dough on it. Sprinkle a little bit of flour on top of the dough and fold it over on itself twice, shaping it into a round ball that is slightly elongated.
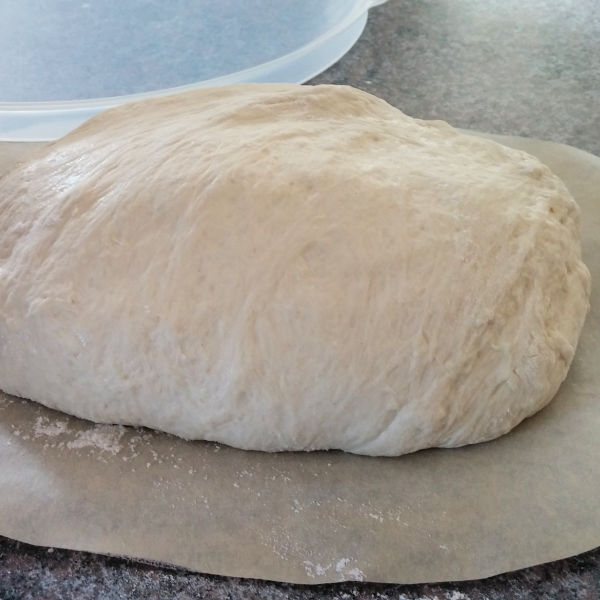 Put onto parchment paper (that will fit in your Dutch oven) to let rise before baking
Gently place dough ball onto floured parchment paper. Cover with a large bowl that doesn't touch the dough (see Oma's Tip below) and let the dough rest while your oven preheats.
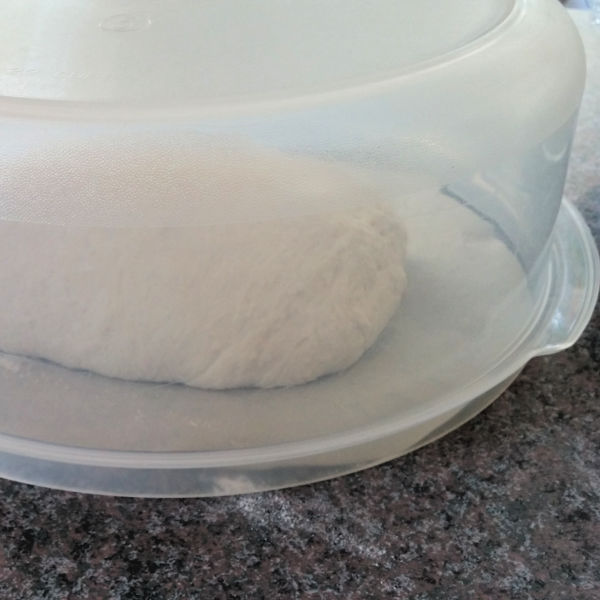 Cover and let rise while you preheat your oven
Preheat your oven to 450 degrees F and put your Dutch oven with the lid into it to heat for 30 minutes.
Then slash the top of the bread dough with a sharp knife.
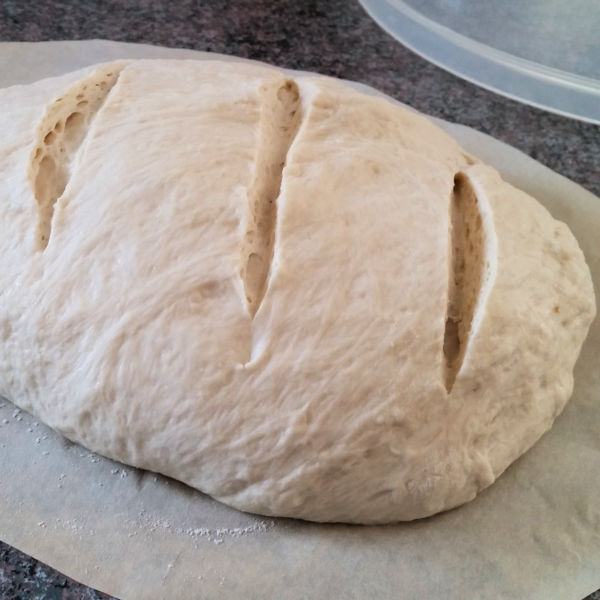 Slash loaves (looks pretty) and helps the bread rise
Carefully remove the preheated Dutch oven and lift the parchment-lined dough into the pot. Use oven mitts ... it's very hot! Cover with the lid and bake for 30 minutes. Then remove the lid and bake another 15 minutes until the crust is crisp and golden brown.
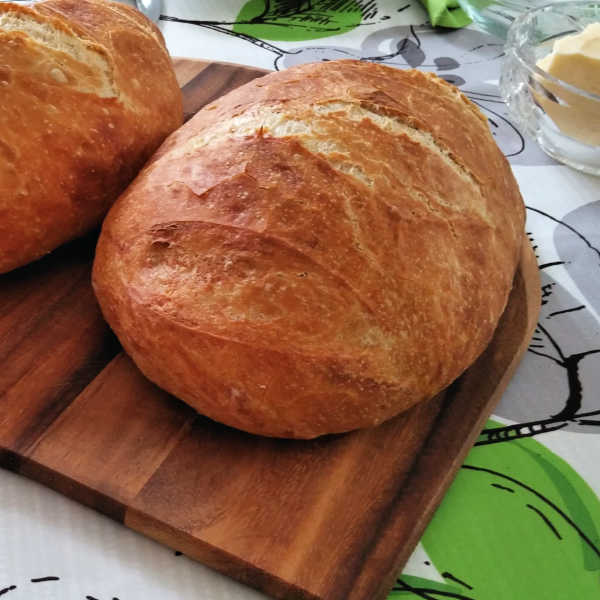
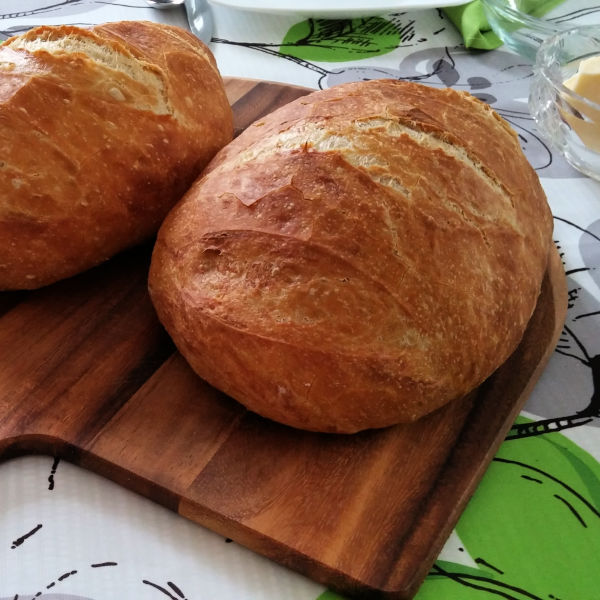 Both loaves waiting to cool before cutting
Remove the Dutch oven to a wire rack to cool and wait about one hour before slicing.
Oma's Tip
The original method had the dough rise on a floured counter under plastic wrap or a towel, but removing that could get messy. It often stuck or collapsed when transferring to the Dutch oven.
Now I place the dough right on parchment paper to rise, covered with a large plastic bowl. When it’s time to bake, I just lift the parchment and drop it into the hot pot using an oven mitt. So much easier and safer!
Tip: No large bowl? Loosely cover the dough with plastic wrap instead.
Below, I cut a BBQ grill mat to the size of my Dutch oven and covered it with my glass cake dome (just because it was handy).
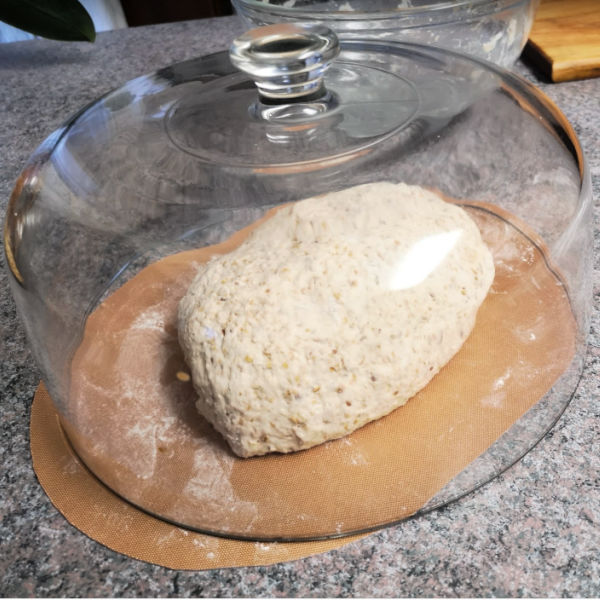 Here I'm using a glass cake dome to cover the bread as it's rising.
Don't have a Dutch Oven?
A Dutch oven is ideal for this bread. It’s heavy and traps heat beautifully. But if you don’t have one yet, don’t worry! Use any 6- to 8-quart heavy pot with a lid (enamel, Pyrex, ceramic, or cast iron), as long as it can handle 450°F.
Once you taste how easy and delicious this bread is, you might just find yourself shopping for that Dutch oven anyway!
German Bread, Your Way
This easy German-style bread is perfect for experimenting! Try these tasty twists:
- Swap in whole wheat flour for half the white
- Sprinkle sesame seeds on top before baking
- Mix in grated cheese, garlic, or fresh herbs
- Dust with cornmeal for extra crunch
Oma says:
If you make your own Greek yogurt or quark, don’t toss the leftover whey.
I started using it in place of water in this bread recipe—and the result was unbelievably good. Now, whenever I have whey (and no vegan guests coming), I always use it. Such a great way to add flavor and not let anything go to waste!
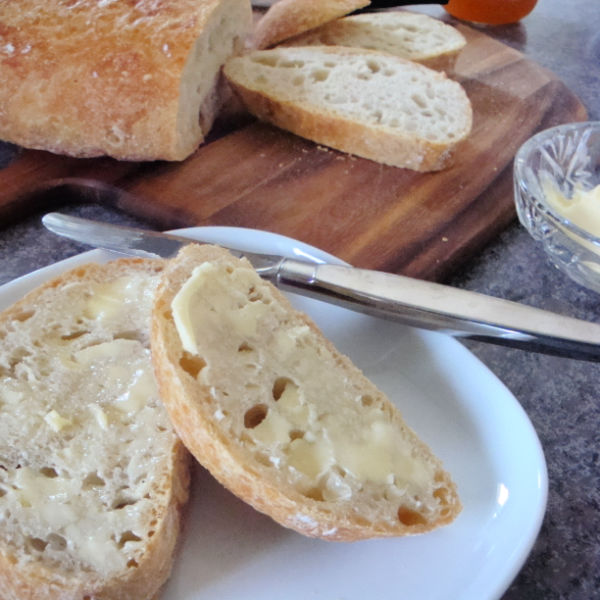 Sliced and buttered!
It really tastes like a sourdough-type of bread! Wunderbar!
What To Serve With Artisan Bread
- I love serving this hearty bread alongside a bowl of goulash soup. Mind you, it would be great as a side to any bowl of homemade German soup. The crispy, thick crust and moist, chewy crumb are perfect for slathering with butter and dunking into soup.
- It is fantastic as a sandwich bread. Try it with your favorite sandwich fillings or try it with my delicious egg salad or tuna salad. It also makes a wonderful grilled cheese sandwich.
- Use it to make garlic bread and serve with your favorite pasta or other dish.
- It's so good dunked into a creamy dip, like Roswitha's super quick and delicious blue cheese dip or my super yummy spinach dip.
- According to my daughter-in-law, Sylvie, this artisan bread is delicious slathered with hummus. Her easy hummus recipe is so quick to make, and it's becoming wildly popular in Germany. Try it. I think you'll like it too!
Another No-Knead Bread
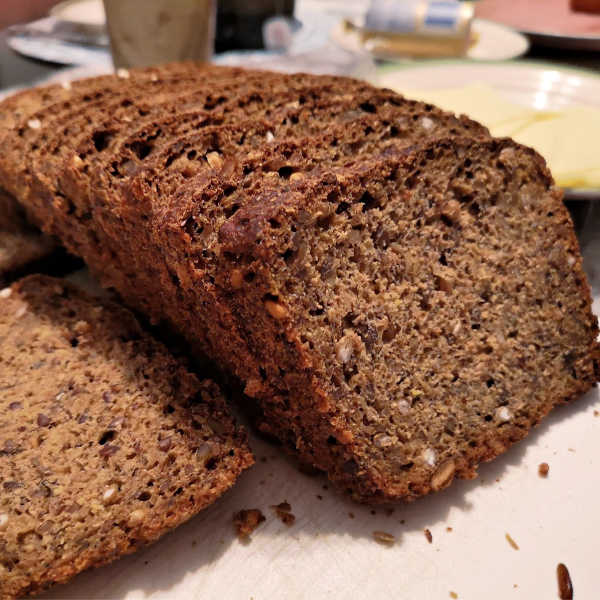
Are you looking for a really really healthy bread recipe? Here's one I created many, many years ago. It has all the goodness you can incorporate. All the seeds and grains you like.
This sourdough recipe takes a bit more time, but it’s absolutely worth it. Hearty and flavorful, it’s perfect with butter or as sandwich bread. I think it might just become a staple in your home too!
More German Bread Recipes
If you love homemade bread, here's a list of other great recipes to try. As usual, they are easy to make and delicious!
- Oma's German rye bread recipe
- Oma's brötchen ~ German bread rolls
- Oma's soft Bavarian laugenbrezel - German pretzels and buns
- Oma's sweet roll recipe
Oma's Easy No-Knead Artisan Bread (Krustenbrot)
This easy no-knead artisan bread is my go-to recipe when I want fresh, crusty bread without the fuss. Just mix, rest, and bake.
Prep Time:
15 minutes
Rise Time:
13 hours
Bake Time:
45 minutes
Total Time:
14 hours
Servings:
Makes 1 loaf
Ingredients:
- 3 cups (390 grams) all-purpose flour or bread flour
- 1½ teaspoons (5 grams) instant yeast
- 1½ cups (360 milliliters) warm water
- 1 teaspoon (6 grams) salt
- extra flour for dusting
Instructions:
- Line a Dutch oven (or 6 to 8-quart heavy covered pot) with parchment paper and set aside.
- Mix first four ingredients together in a large bowl with a wooden spoon or use your hands. The dough will be sticky!
- Cover the bowl tightly with plastic wrap and let the dough rise at room temperature for 12 to 18 hours.
- Take the parchment paper out of the Dutch oven and place it on the counter.
- Sprinkle some flour on the paper and counter. Gently place the dough on floured counter. Gently fold the dough over itself into thirds, shaping it into a loaf. Place the loaf on the parchment paper. Cover it with a large bowl, plastic wrap, or a clean dish towel to rest.
- Put the Dutch oven, including the lid, into the oven. Turn the oven to 450°F (230°C) to preheat for 30 minutes.
- Slash the top of the loaf with a sharp knife or baker’s lame (pronounced “lahm” — a special razor blade bakers use to score bread before baking). Remove the preheated Dutch oven and carefully lift the parchment paper with the loaf into it and cover with the hot lid. Return it to the oven.
- Bake at 450°F for 30 minutes. Remove the lid and continue baking for another 15 minutes or until the bread is golden brown.
- Let the bread cool on a wire rack for at least 1 hour before slicing.
Notes/Hints:
- Try half whole wheat flour. Sprinkle with sesame seeds just before baking. Add some grated cheese. Add some herbs. Sprinkle with cornmeal.
- Using all-purpose white flour will give a slightly more chewy crust and sourdough flavor than using white bread flour.
- Looking for another easy bread recipe? no-knead sourdough bread!
* * * * *
Unless otherwise noted recipe, images and content © Just like Oma | www.quick-german-recipes.com
Updated on December 1, 2025
Comments? Questions?
You can leave a comment about this recipe or ask a question...
Pop right over to my private Facebook group, the Kaffeeklatschers. You'll find thousands of German foodies, all eager to help and to talk about all things German, especially these yummy foods.
Meet with us around Oma's virtual table, pull up a chair, grab a coffee and a piece of Apfelstrudel, and enjoy the visit.
Recent Articles
-
Authentic German Oven-Cooked Goulash Soup Recipe (Gulaschsuppe)
Jan 26, 26 09:08 PM
My authentic German goulash soup (Gulaschsuppe) is oven-cooked for deep flavor, with tender beef, potatoes, and plenty of paprika -
Baked German Potato Pancake Casserole (Kartoffelpuffer aus dem Ofen)
Jan 17, 26 02:31 PM
Crispy top, creamy middle: my oven-baked kartoffelpuffer casserole (a mix of both döppekooche- and dibbelabbes-styles) made with grated potatoes, butter & eggs. -
Easy Chicken Noodle Soup Recipe: Oma's Hühner-Nudelsuppe.
Jan 14, 26 01:10 PM
Easy chicken noodle soup recipe: Oma's comforting Hühner-Nudelsuppe recipe. A taste of Germany with simple ingredients and endless variations. Perfect for cold days!
Words to the Wise
"The wise don't make a show of their knowledge, but fools broadcast their foolishness."
Proverbs 12:23 (NLT)
