Spice up your inbox with FREE German recipes and a free recipe ebook!
Spice up your inbox with FREE German recipes and a free recipe ebook!
- Home
- German Celebrations and Holidays
- Dyeing Easter Eggs Naturally
Dyeing Easter Eggs: Traditional Easy Natural Methods

by: Gerhild Fulson / Oma Gerhild shares easy, authentic German recipes you can trust—rooted in family tradition and featured in her cookbooks.
Published: April 5, 2020, Updated: April 14, 2025
Dyeing Easter eggs naturally using common foods such as coffee, cabbage, onions, and tea will transform your white and/or brown eggs into a rainbow of subdued colors.
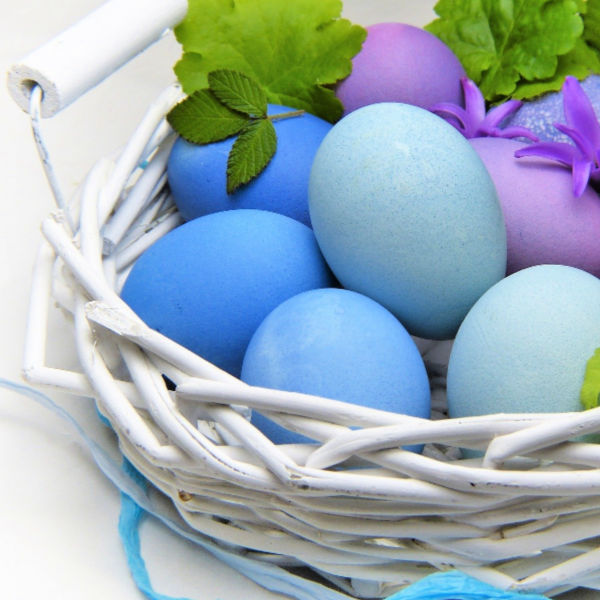 Pastel Eggs ready to be hidden for Easter morning.
Decorating eggs is just one part of a much bigger celebration in Germany, filled with beautiful customs and rich symbolism. If you're curious about where these traditions come from—or why Germans hang eggs in trees—you’ll love exploring more about it all. Take a peek at the rich German Easter egg traditions that make this season so unique and meaningful!
And the best part? You don’t need fancy kits or store-bought dyes to join in the fun. Traditional methods using ingredients you likely already have at home can be just as colorful—and even more rewarding.
Whether you're stuck at home and don't have any food color available, or want to do things the "old-fashioned way", it's really quite easy and fun to do Easter egg coloring naturally
I'm including some fun activities for the kids to do with the dyed Easter Eggs below.
How To Prepare Eggs For Dyeing
There are 3 ways to prepare eggs for dyeing and decorating.
- Use raw eggs
- Hard-boil eggs
- Blow out the eggs and just use the shells
1. Using Raw Eggs For Dyeing
Yes, you can dye raw eggs and use them as your Easter decorations. These will be eggs that are NEVER eaten. As long as the shell isn't broken, the egg contents will start to dry out over a period of months.
The fancy Ukrainian Pysanky eggs are usually done this way. There is the possibility that the egg may explode instead of drying out, but this doesn't happen often. It does stinks. The alternative is to create a hollow egg by blowing out the insides, but they are a bit more delicate to work with.
Either way, by using raw eggs or blowing them, your creations will last many years of they are handled with care.
2. Using Hard-Boiled Eggs For Dyeing
Using hard-boiled eggs are the most common way for decorating eggs, especially when children are involved. Not only is it fun to have children help in dyeing and decorating the eggs, but what would an Easter Egg Hunt be without eggs?
Follow either method here for hard-boiling your eggs.
Cool the eggs quickly under running water or place them in an ice bath. Once cool, refrigerate until you are ready to use them.
3. 'Blow Out' Raw Eggs
The third way for dyeing Easter eggs is to create a hollow egg by blowing out the egg. There's even a tool for it!
How to blow out eggs:
- Wash eggs with soap and water.
- Using an awl or a needle, poke a hole at each end of the egg. Make the hole at the bottom a bit larger.
- Holding the egg over a bowl, blow forcefully into the larger end, forcing the yolk and egg whites into the bowl. It may be easier to first use the awl and stick it through the hole a few times to break up the yolk so that it will come out easier.
- Rinse the egg shell well and let it dry. The yolk/egg white mixture can then be used to make scrambled eggs.
How To Make Natural Easter Egg Dyes
Ready to make some colors? If you want deeper colors, you can put the eggs into the dyeing liquid more than once. As well, you can do some color mixing and get some unusual shades.
Here is the basic method for making most of the colors:
- Add to a small saucepan 2 cups water and 1 tablespoon white vinegar.
- Bring to a boil and add your specific dye ingredient (listed below).
- Cover and simmer gently for about 30 minutes. Let cool.
- Strain if necessary and add the eggs.
- Soak the eggs in the dye for about 30 minutes.
- Remove with a slotted spoon and dry with paper towels.
Ingredients For Natural Dyes
For dyeing one dozen eggs, you will need about four cups of dyeing solution.
Pink Egg Dye:
- Use 2 cups of grated beets to the water/vinegar mixture above.
- Alternatively, just let the eggs soak in pickled beet juice. A quick and easy dye.
Yellow Egg Dye:
- Add 3 tablespoons of turmeric to the water/vinegar mixture above.
Orange Egg Dye:
- Add 2 cups of yellow onions skins to the water/vinegar mixture above.
Lavender Egg Dye:
- Add 2 cups red onions skins or 2 bags Red Zinger tea to the water/vinegar mixture above.
Light Blue Egg Dye:
- Add 2 cups of shredded red cabbage to the water/vinegar mixture above.
Dark Blue Egg Dye:
- Add 2 cups blueberries to the water/vinegar mixture above.
Dark Brown Egg Dye:
- Let the eggs sit in hot strong black coffee for about 30 minutes.
Salmon Egg Dye:
- Soak the eggs for 30 minutes in the yellow (tumeric) dye and the 30 minutes into the orange (onion skin) dye.
Chartreuse Egg Dye:
- Soak the eggs for 30 minutes in the yellow (tumeric) dye and then into the light blue (cabbage) for about 5 seconds.

Decorating Easter Eggs With Kids
You can most definitely prepare the dyes and color the eggs together with the kids. But, there are also some extra fun things to do to make these eggs eggstra special.
1. Get out the markers and have fun!
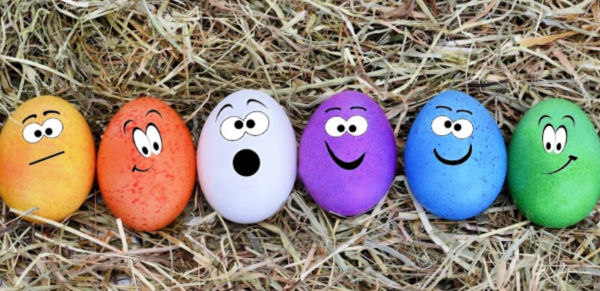 A colorful crew of Easter eggs showing off their best personalities
If you have "eyeball" stickers, this would be awesome!
You can also buy googly eyes and stick them on.
If not, just use your markers and go to it. Be creative!
2. Get out your Stamping Kit!
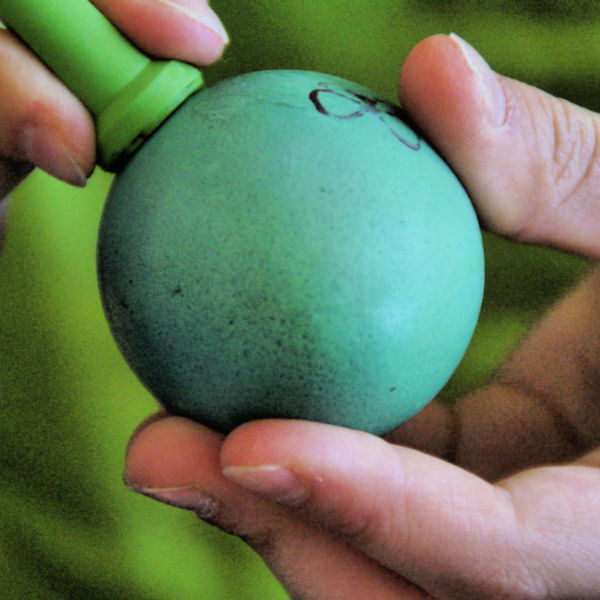
If you have a stamping kit, then you're all set to create unique designs. Use multiple colors on one egg or go monochromatic.
3. Make Pysanky Eggs
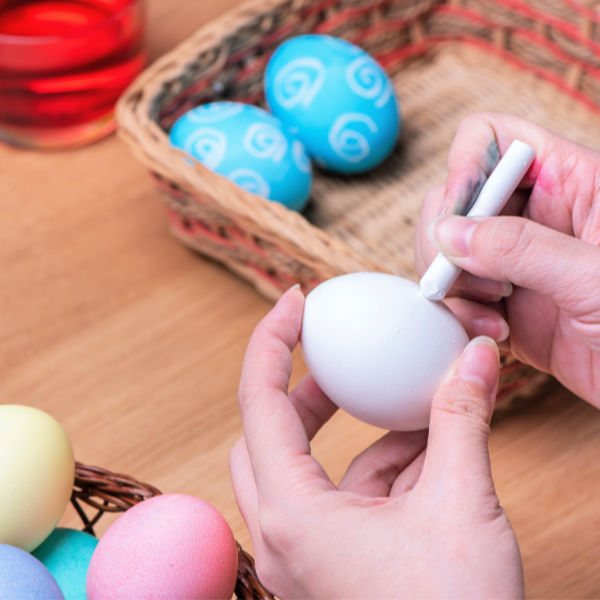
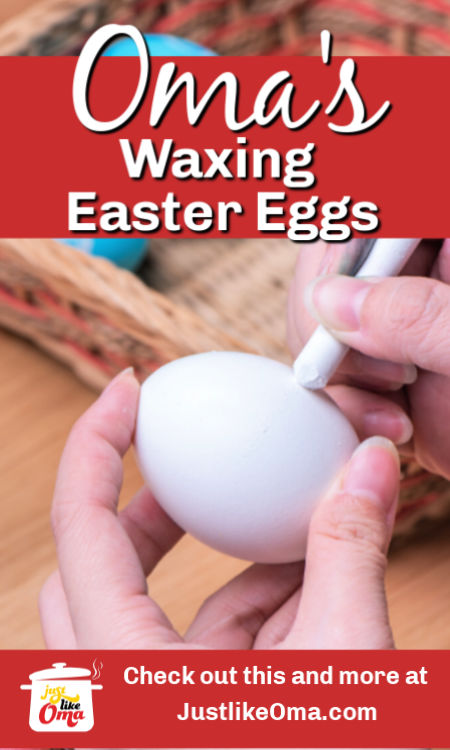
Before you dip those eggs into the natural dyes, get out your crayons. Draw on the design on the room-temperature eggs and then soak the eggs in the cool dye solution.
Once the eggs has soaked long enough to obtain the color shade you want, remove them.
If you wish to remove the wax after the dyed egg has dried, you can use a hair dryer to blow hot air over the egg which will melt the wax. Use a paper towel to wipe the wax off.
How long will these Hard-Boiled Eggs Keep?
Hard-boiled eggs will keep about one week in your fridge. When you do take them out of the fridge for either dyeing, hiding, or serving, use them within 2 hours.
Need a recipe for those hard-boiled eggs? Try German Egg Salad or my Potato Salad. Or, how about serving them with Mustard Sauce -- so very, very German!
You can also use your hard-boiled eggs in a variety of recipes. Above, they are placed inside a meatloaf, before the meatloaf is placed in the oven.
Egg salad! Yummy German recipe for this ... check how it's different than what you're used to.
Happy Easter – Frohe Ostern
Comments? Questions?
You can leave a comment about this recipe or ask a question...
Pop right over to my private Facebook group, the Kaffeeklatschers. You'll find thousands of German foodies, all eager to help and to talk about all things German, especially these yummy foods.
Meet with us around Oma's virtual table, pull up a chair, grab a coffee and a piece of Apfelstrudel, and enjoy the visit.
Recent Articles
-
Oma’s German Sausage Recipes: A Taste of Tradition
Apr 24, 25 01:16 PM
Oma’s easy German sausage recipes — classic German dishes made with bratwurst, smoked sausage & more. Hearty, flavorful, and full of tradition! -
White Asparagus with Easy Hollandaise Sauce: Oma's Spargel mit Sosse.
Apr 24, 25 09:22 AM
This white asparagus (Spargel) recipe is a traditional German favorite, served with easy Hollandaise sauce, boiled potatoes, and ham. -
German Apple Strudel Recipe – Oma's Apfelstrudel Rezept
Apr 21, 25 08:05 PM
This German Apple Strudel (Apfelstrudel) is a quick and easy dessert made with frozen puff pastry, delivering classic flavor without the fuss.
PIN this ...
The Good News!
"For this is how God loved the world: He gave his one and only Son, so that everyone who believes in him will not perish but have eternal life."
John 3:16 (NLT)


